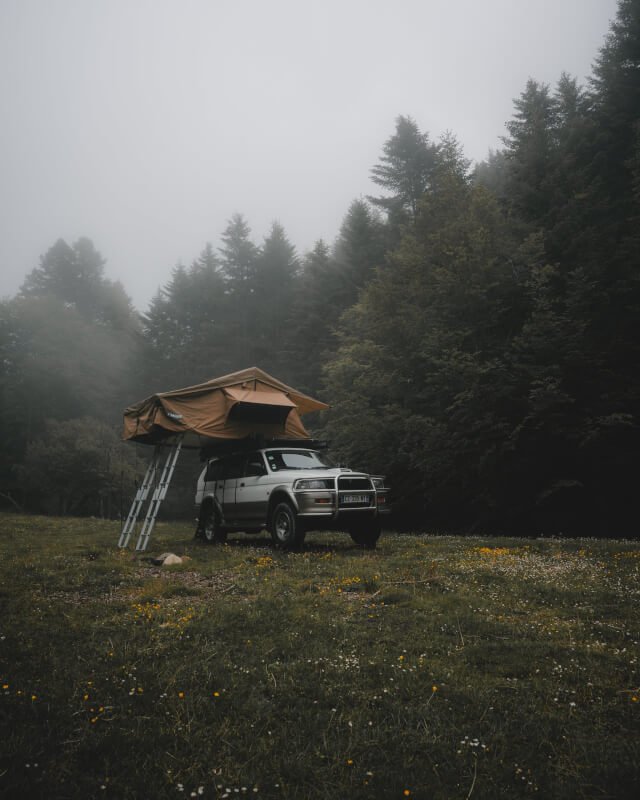
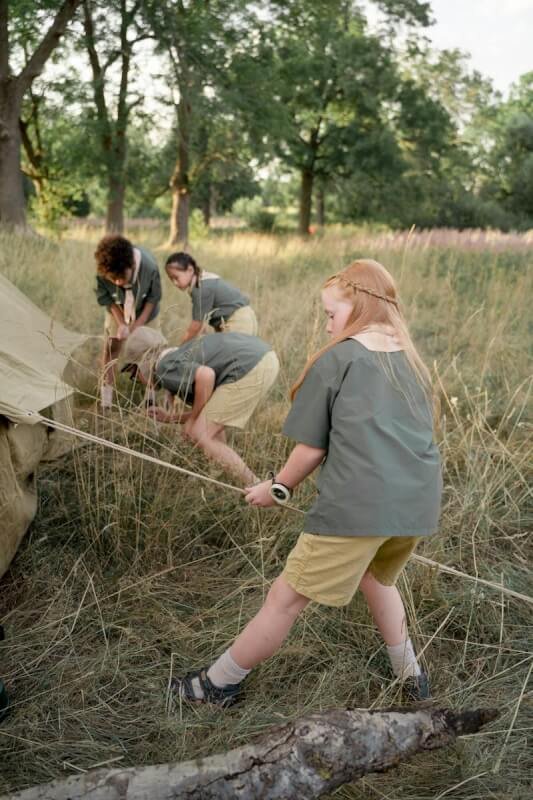
Whether you are a seasoned camper or a first-timer, setting up a tent can sometimes be a bit of a challenge. But fear not, because in this article, we will guide you through the process of setting up a tent for camping. From selecting the perfect camping spot to assembling the tent poles, we’ve got you covered. So grab your tent and let’s get started on an adventure in the great outdoors!

Choosing the Right Tent
Consider the Size
When choosing a tent, it’s important to consider the size that will best accommodate your needs. Think about how many people will be sleeping in the tent and if you’ll need any extra space for gear or pets. A tent’s capacity is usually indicated by the number of people it can sleep comfortably, so make sure to choose a size that will provide enough room for everyone to sleep and move around comfortably.
Determine the Season
Another important factor to consider when choosing a tent is the season in which you will be camping. Tents are often categorized into three season, four season, and summer-specific models. Three-season tents are designed for spring, summer, and fall conditions, while four-season tents are built to withstand harsh winter weather. Summer-specific tents are lightweight and breathable, making them ideal for warm weather camping. Make sure to consider the weather conditions you’ll be facing and choose a tent that is suitable for those conditions.
Evaluate the Weight
The weight of your tent is an important consideration, especially if you’ll be backpacking or hiking to your camping destination. Lightweight tents are typically more compact and easier to carry, making them a great option for outdoor enthusiasts on the move. However, if you’ll be camping near your vehicle or have a larger group to accommodate, weight may not be as much of a concern. Consider your specific needs and choose a tent that strikes a balance between weight and comfort.
Check the Durability
Durability is key when it comes to selecting a tent that will withstand the test of time and different camping conditions. Look for tents made from high-quality materials that are designed to be weather-resistant and tear-resistant. Reinforced seams, sturdy zippers, and a strong frame are all indicators of a durable tent. Investing in a well-built tent will ensure that it can handle unexpected weather conditions and last for many camping trips to come.
Assess the Ease of Setup
Ease of setup is essential, especially if you’re new to camping or prefer a hassle-free experience. Look for tents that come with clear instructions and straightforward assembly processes. Features such as color-coded poles and clips can make setup a breeze. Additionally, consider the time it takes to set up and take down the tent. If you value convenience and efficiency, opt for a tent that can be pitched and packed away quickly and easily.
Gathering Necessary Equipment
Tent
Of course, the first and most important piece of equipment you’ll need for camping is a tent. Make sure to choose a tent that fits your needs in terms of size, season, and durability.
Tent Poles
Tent poles are essential for providing structure and support to your tent. Depending on the type of tent you choose, the poles may be made of aluminum or fiberglass. Ensure that all the tent poles are included and in good condition before heading out on your camping trip.
Stakes
Stakes are used to secure your tent to the ground and prevent it from shifting or blowing away in the wind. Opt for sturdy stakes that are designed to withstand various ground conditions. Make sure to pack extras in case any get lost or damaged during your camping adventure.
Rainfly
A rainfly is a waterproof cover that goes over your tent to protect it from rain and provide additional insulation. It’s important to choose a rainfly that is specifically designed for your tent model to ensure a proper fit. Consider opting for a rainfly with built-in ventilation to prevent condensation buildup inside the tent.
Groundsheet
A groundsheet, also known as a footprint, is a protective barrier that goes underneath your tent to prevent moisture from seeping up through the floor. It can also add an extra layer of insulation and protect your tent’s floor from abrasions. Look for a groundsheet that matches the dimensions of your tent or can be easily trimmed to fit.
Mallet or Hammer
A mallet or hammer is essential for driving stakes into the ground and ensuring they are securely in place. Look for a lightweight option that is easy to carry and use.

Finding the Perfect Camping Spot
Research and Plan Ahead
Before heading out on your camping trip, take the time to research and plan ahead for the perfect camping spot. Look for campgrounds or camping areas that offer the amenities and features you’re looking for, such as access to water, bathrooms, and recreational activities. Consider the location in relation to nearby attractions or hiking trails to make the most of your outdoor adventure.
Consider Campground Amenities
When choosing a camping spot, consider the amenities offered by the campground. If you prefer a more rustic experience, a primitive campground may be ideal. If you value convenience, look for campgrounds with amenities such as electric hookups, showers, or picnic tables. Take note of any reservation requirements or fees associated with the campground as well.
Check the Ground Conditions
When you arrive at your chosen camping spot, make sure to carefully assess the ground conditions. Look for a flat, level area that is free from rocks, tree roots, or other potential discomforts. Avoid areas that are prone to flooding or low-lying spots where water may accumulate. Taking the time to choose a suitable ground surface will contribute to a more comfortable and enjoyable camping experience.
Identify Potential Hazards
Before setting up your tent, it’s important to identify any potential hazards or dangers in the area. Look for dead trees, overhanging branches, or large rocks that could pose a risk of falling or injuring campers. Avoid setting up camp too close to bodies of water, as sudden changes in water levels or flooding can occur. By being aware of your surroundings and potential hazards, you can ensure a safe and worry-free camping experience.
Preparing the Tent Site
Clear the Area
Before setting up your tent, it’s important to clear the area of any debris or obstacles that could potentially damage the tent or cause discomfort. Remove rocks, branches, or any sharp objects that may be on the ground. A cleared area will also help prevent insects or animals from being attracted to your campsite.
Level the Ground
A level ground surface is essential for ensuring your tent is stable and comfortable. Use a small shovel or your hands to level out any uneven spots or mounds of dirt. This will help prevent discomfort while sleeping and ensure that your tent’s floor remains flat and taut.
Remove Debris
Once you’ve cleared and leveled the ground, remove any remaining debris such as leaves or twigs. This will help provide a clean surface for your tent and prevent any punctures or damage to the tent’s floor. It’s also a good idea to check for any hidden debris, such as rocks or sticks, that may have been covered by leaves or dirt.
Consider Wind Direction
When selecting the orientation of your tent, consider the prevailing wind direction. Positioning your tent so that the back or side is facing the wind will help minimize the chances of the tent collapsing or becoming damaged by strong gusts. Additionally, orienting your tent to take advantage of natural windbreaks, such as trees or large rocks, can provide additional protection and comfort.
Assembling the Tent
Lay Out the Tent
Before assembling your tent, lay out all the components and make sure you have everything you need. This includes the tent body, rainfly, tent poles, stakes, and guylines. Take a moment to familiarize yourself with the setup instructions and any color-coded components before proceeding.
Unfold and Assemble Poles
Begin by unfolding the tent poles and assembling them according to the instructions provided. Most tent poles consist of multiple sections that are connected by ferrules or bungee cords. Make sure the poles are securely connected and extend them to their full length. Inspect the poles for any signs of damage or wear before proceeding.
Insert Poles into Tent Sleeves
Once the tent poles are assembled, carefully insert them into the designated sleeves on the tent body. Pay attention to the correct order and sequence of poles, as indicated by the instructions. Gently slide the poles through the sleeves, being careful not to apply excessive force or cause any tears or snags.
Raise and Secure the Tent
With the poles inserted into the tent sleeves, gently raise the tent body to an upright position. If necessary, recruit the help of a friend or family member to assist with this step. Once the tent is standing, adjust the poles as needed to ensure the tent fabric is taut and symmetrical. Secure the poles in place by attaching them to the tent’s grommets or hooks.
Attaching the Rainfly
Place the Rainfly over the Tent
After the tent is assembled, it’s time to attach the rainfly. Place the rainfly over the top of the tent, making sure it is aligned correctly and centered. The rainfly should cover the entire tent body, including the doors and windows. Take care to align any ventilation panels or windows on the rainfly with those on the tent body for proper airflow.
Secure the Rainfly to the Tent
Once the rainfly is in position, carefully attach it to the tent using the provided attachment points or clips. Make sure that all corners and edges are securely fastened to prevent the rainfly from shifting or flapping in the wind. Take the time to properly tension the rainfly for a snug and secure fit.
Stake Down the Rainfly
To further secure the rainfly and prevent it from blowing away, use stakes to anchor it to the ground. Locate the designated stake loops or guyline attachment points on the rainfly and insert stakes through them. Drive the stakes into the ground at a 45-degree angle, ensuring they are firmly in place and providing tension to the rainfly.

Securing the Tent with Stakes
Determine Stake Placement
Before securing your tent with stakes, determine the ideal placement for them. Typically, this will involve attaching the guylines or stake loops near the tent’s corners and base. Take care to choose a spot that provides appropriate tension, ensuring the tent remains stable in windy conditions.
Insert Stakes into the Ground
Once stake placement has been determined, insert the stakes through the designated stake loops or guylines. Drive the stakes into the ground at a 45-degree angle, using a mallet or hammer if necessary. Ensure that each stake is securely in place, providing tension to the tent fabric and preventing it from shifting or collapsing.
Ensure Tension on the Tent
After all the stakes are in place, check the tension on the tent fabric. Adjust the position of the stakes if necessary, tightening or loosening them to achieve optimal tension. Proper tension will help keep the tent stable and prevent sagging or flapping in the wind. Take the time to periodically check the tension throughout your camping trip, as the ground conditions may change.
Utilizing a Groundsheet
Lay the Groundsheet
Before setting up your tent, lay down the groundsheet in the chosen camping spot. Make sure the groundsheet is slightly smaller than the footprint of your tent to prevent rainwater or condensation from collecting underneath. Smooth out any wrinkles or folds in the groundsheet to create an even surface.
Place the Tent on the Groundsheet
Once the groundsheet is in place, position your tent directly on top of it. Make sure the tent is centered and aligned properly with the groundsheet. This will provide an extra layer of insulation and protection against moisture, insects, and rough ground surfaces. Take care to avoid trapping any excess groundsheet material under the tent, as this could lead to unwanted moisture buildup.
Organizing the Interior
Set Up Sleeping Area
Once your tent is fully assembled, it’s time to organize the interior. Begin by setting up the sleeping area. Lay out sleeping bags or air mattresses and arrange them to your liking. Consider using sleep pads or camping cots for added comfort and insulation from the ground. Make sure each sleeping space has enough room for individuals to move around and get in and out of bed easily.
Arrange Camping Gear
Next, arrange your camping gear within the tent. Consider creating designated areas for different items, such as a cooking area, a storage area, and a relaxation area. Use storage organizers, hanging hooks, or collapsible storage bins to keep gear organized and easily accessible. Keep heavy items near the tent’s center of gravity to maintain stability and prevent tipping.
Consider Storage Solutions
In smaller tents, storage space can be limited. Consider utilizing storage solutions such as gear lofts or hanging organizers to maximize vertical space. These can be attached to the tent’s ceiling or walls, providing additional storage options for smaller items or personal belongings. Utilize mesh pockets or compartments within the tent to keep essentials close at hand.
Test the Tent Setup
Check for Stability
Once your tent is set up, take a moment to check its stability. Gently push on the walls and poles to see if they remain secure and stable. If the tent wobbles or feels unsteady, adjust the tension on the guylines or stakes to achieve a more stable setup. Testing the stability of your tent before settling in for the night will provide peace of mind and ensure a comfortable camping experience.
Inspect for Proper Rainfly Placement
Carefully inspect the rainfly to ensure it is properly placed and secure. Check that all corners, edges, and attachment points are properly aligned and tensioned. Look for any gaps or areas where rain or wind could potentially enter the tent. Making any necessary adjustments or addressing any issues with the rainfly will help maintain a dry and comfortable interior.
Verify Tent Interior
Take a moment to verify that the tent’s interior is properly organized and prepared. Check that sleeping areas are comfortable and gear is easily accessible. Ensure that all necessary camping equipment, such as lanterns, flashlights, or cooking supplies, are within reach. By verifying the tent interior, you can address any issues or make any necessary adjustments before settling in for the night.
Setting up a tent for camping can be an enjoyable and fulfilling part of the outdoor experience. By considering the size, season, weight, durability, and ease of setup when choosing a tent, and by carefully selecting the necessary equipment, you can ensure a comfortable and hassle-free camping adventure. By finding the perfect camping spot, preparing the tent site properly, and following the step-by-step assembly instructions, your tent will provide a secure and cozy shelter during your outdoor excursions. Remember to test the tent setup, including checking for stability and proper rainfly placement, to ensure a worry-free camping experience. Pack your gear, pitch your tent, and get ready to make lasting memories in the great outdoors. Happy camping!


